- Published on
Step-by-Step Guide: Connecting and Running CRUD Queries with MySQL, Node.js, and Express in TypeScript
TABLE OF CONTENTS
Introduction
In this nodejs tutorial, You will learn how to create a Node.js and Express.js server with TypeScript, how to connect to a MySQL database and execute database queries.
Why Use MySQL?
MySQL is an open-source relational database management system (RDBMS) developed by Oracle. It is the most popular DBMS, used by companies with massive data storage needs such as Facebook, Netflix, Shopify, Uber, and more. MySQL falls into the relational database category.
Why Use TypeScript with Node.js and Express.js?
Basically, TypeScript adds additional syntax to JavaScript to support a tighter integration with your editor. Catch errors early in your editor or in your CI/CD pipeline, and write more maintainable code.
Prerequisites
Before we start, ensure you have the following:
- Basic knowledge of Node Js and Mysql.
- Node.js installed on your system.
- Mysql Installed and configured on your system.
- A code editor (e.g., VSCode).
Download sql file
Setting Up a Node.js Project with typescript
Let’s start by creating a Node.js server with typescript.
1. Create new directory for the project
mkdir mysql-express-app
cd mysql-express-app2. Create the package.json file for npm package installation
npm init -y3. Installing express js and it's types
npm install express
npm install --save-dev @types/express3. Install TypeScript and other necessary development dependencies:
npm install --save-dev typescript ts-node @types/node4. Now we need to configure typescript
First we need to create tsconfig.json for configuring typescript
npx tsc --initUpdate the tsconfig.json file by pasting the following code
{
"compilerOptions": {
"target": "ES6",
"module": "commonjs",
"rootDir": "./src",
"outDir": "./dist",
"strict": true,
"esModuleInterop": true,
"skipLibCheck": true,
"forceConsistentCasingInFileNames": true
},
"include": ["src/**/*"],
"exclude": ["node_modules"]
}5. Add Scripts to package.json
"scripts": {
"dev": "ts-node src/index.ts"
}6. Now we need to create a src folder inside the root directory for adding typescript files
Creating a expressjs server using typescript
1. Create index.ts file inside src folder and copy the server running code in the file.
import express from "express";
const app = express();
const PORT = process.env.PORT || 3000;
app.get("/", (req, res) => {
res.send("Welcome to mysql database connection demo!");
});
app.listen(PORT, () => {
console.log(`Server is running on http://localhost:${PORT}`);
});2. Run the node js server
npm run devThis will start the server, and we should see Server is running on http://localhost:3000. If you go to localhost in the browser you will be able to see
Welcome to mysql database connection demo! in the browser.
We have successfully completed the first part of How to Connect MySQL with Node.js and Express: A Step-by-Step Guide Using TypeScript
Connecting Mysql to Nodejs
1. Install the mysql2 package using npm:
npm install mysql2
npm install --save-dev @types/mysql22. Create a db.ts file inside the src directory and add the following code
import mysql from "mysql2/promise";
// Create the connection pool. The pool-specific settings are the defaults
export const pool = mysql.createPool({
host: "127.0.0.1",
port: 4306,
user: "root",
password: "123456",
database: "ecommerce_db",
waitForConnections: true,
connectionLimit: 10,
maxIdle: 10, // max idle connections, the default value is the same as `connectionLimit`
idleTimeout: 60000, // idle connections timeout, in milliseconds, the default value 60000
queueLimit: 0,
enableKeepAlive: true,
keepAliveInitialDelay: 0,
});
export const checkConnection = async () => {
try {
const connection = await pool.getConnection();
await connection.ping(); // Sends a ping to the database to check if the connection is alive
console.log("Database connection successful!");
connection.release(); // Release the connection back to the pool
} catch (error) {
console.error("Database connection failed:", error);
}
};we are connecting the mysql database by calling createPool function from mysql object. we can also use createConnection method for connecting the mysql database (sample code given below).
const connection = await mysql.createConnection({
host: "localhost",
user: "root",
database: "test",
});If you are thinking why we used createPool instead of createConnection there are some reason for that.
- If you use
createConnectionyou will have to establish a new connection for each request. This means application will need to connect to the database each time to perform queries with MySQL. createPoolhandles several connections and keeps them open allowing reuse. It doesn't open a new connection for each request. Instead, it uses an existing connection from the pool. This boosts query performance and cuts down on delay by steering clear of the extra work needed to set up a new connection every time.
Now got the terminal and run again the npm run dev yow will be able to see following screen
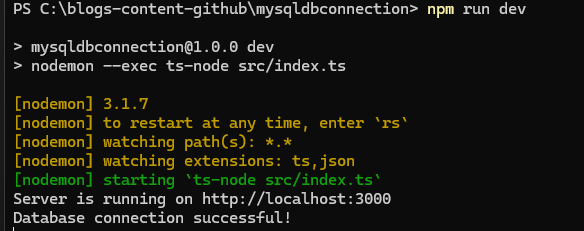
We have successfully connected to the mysql database .
3. Install the nodemon package using npm:
nodemon is a tool that helps develop Node.js based applications by automatically restarting the node application when file changes in the directory are detected.
If we change the code in a Node.js application, we have to clear the terminal and run npm run dev each time to reflect the changes. We can use nodemon to solve this issue, as it will automatically restart the application whenever code changes are detected. Run the command below to install the nodemon package using npm:
npm install -g nodemonRunning mysql queries in nodejs
Now the last part is to query mysql database using our node js application. We can create the crud apis and test with POSTMAN application.Please install the POSTMAN for testing the api's.
1. Fetching all products from product table
Update the index.ts file by importing the checkConnection, pool from db.ts;
import { checkConnection, pool } from "./db";Next update the get / request by following code.
app.get("/api/products", async (req, res) => {
try {
const [rows, fields] = await pool.query(
"SELECT `id`, `name` FROM `products`"
);
if (Array.isArray(rows)) {
const result = rows.map((row) => {
return {
id: (row as any).id,
name: (row as any).name,
};
});
res.json(result);
} else {
res.send("Expected rows to be an array, but got:" + rows);
}
} catch (err) {
console.log(err);
}
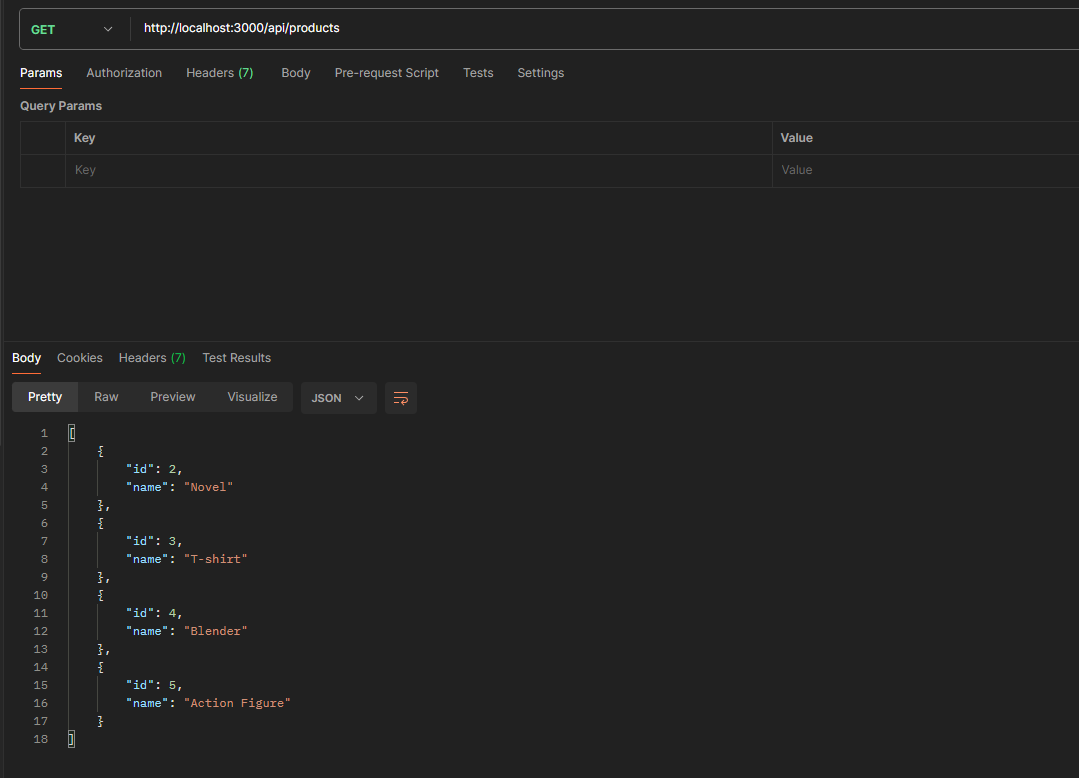
});Run the http://localhost:3000/api/products request api in the postman tab and you will see the product list in JSON format.
2. Delete product from product table
Create a new api request in index.ts for deleting the product
app.delete("/api/products/:id", async (req, res) => {
try {
const id = req.params.id;
await pool.query("DELETE FROM `products` WHERE `id` = ?", [id]);
res.status(201).json({ message: "product deleted" });
} catch (err) {
console.log(err);
res
.status(500)
.json({ error: "An error occurred while deleting the product" }); // Send error response }
}
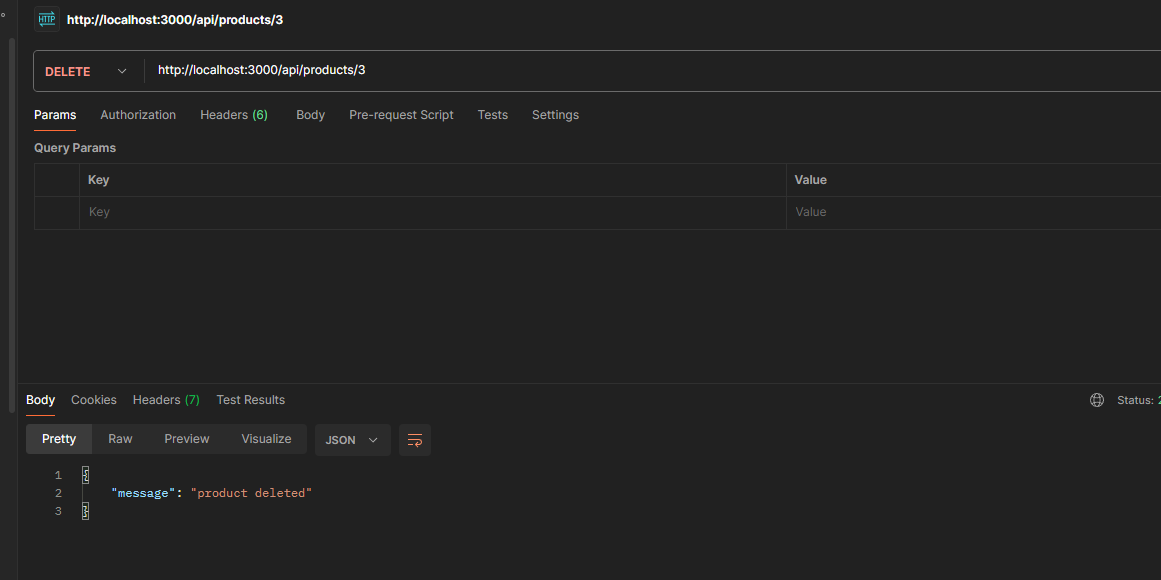
});Run the http://localhost:3000/api/products/3 request api in the postman tab and you will see the product deleted message.
3. Insert a new product to product table
Add express.json() built-in middleware function in express after const app = express().
app.use(express.json()); // Enable JSON body parsingThis is a built-in middleware function in Express. It parses incoming requests with JSON payloads and is based on body-parser. Returns middleware that only parses JSON and only looks at requests where the Content-Type header matches the type option. This parser accepts any Unicode encoding of the body and supports automatic inflation of gzip and deflate encodings.
Create a new api request in index.ts for adding a new product
app.post("/api/products", async (req, res) => {
try {
const { name, price, category_id, description } = req.body;
console.log(name, price, category_id, description);
const result = await pool.query(
"INSERT INTO `products` (`name`, `price`, `category_id`, `description`) VALUES (?, ?, ?, ?)",
[name, price, category_id, description]
);
res.status(201).json({ message: "Product added" });
} catch (err) {
console.log(err);
res
.status(500)
.json({ error: "An error occurred while adding the product" }); // Send error response
}
});4. Update product in the product table
Create a new api request in index.ts for updating the existing product.
app.put("/api/products/:id", async (req, res) => {
try {
const id = req.params.id;
const { name, price, category_id, description } = req.body;
const [result] = await pool.query(
"UPDATE `products` SET `name` = ?, `price` = ?, `category_id` = ?, `description` = ? WHERE `id` = ?",
[name, price, category_id, description, id]
);
if ((result as any).affectedRows === 0) {
res.status(404).json({ message: "Product not found" }); // If no rows affected, respond with a 404
//
} else {
res.status(201).json({ message: "Product updated" });
}
} catch (err) {
res
.status(500)
.json({ error: "An error occurred while updating the product" }); // Handle errors
console.log(err);
}
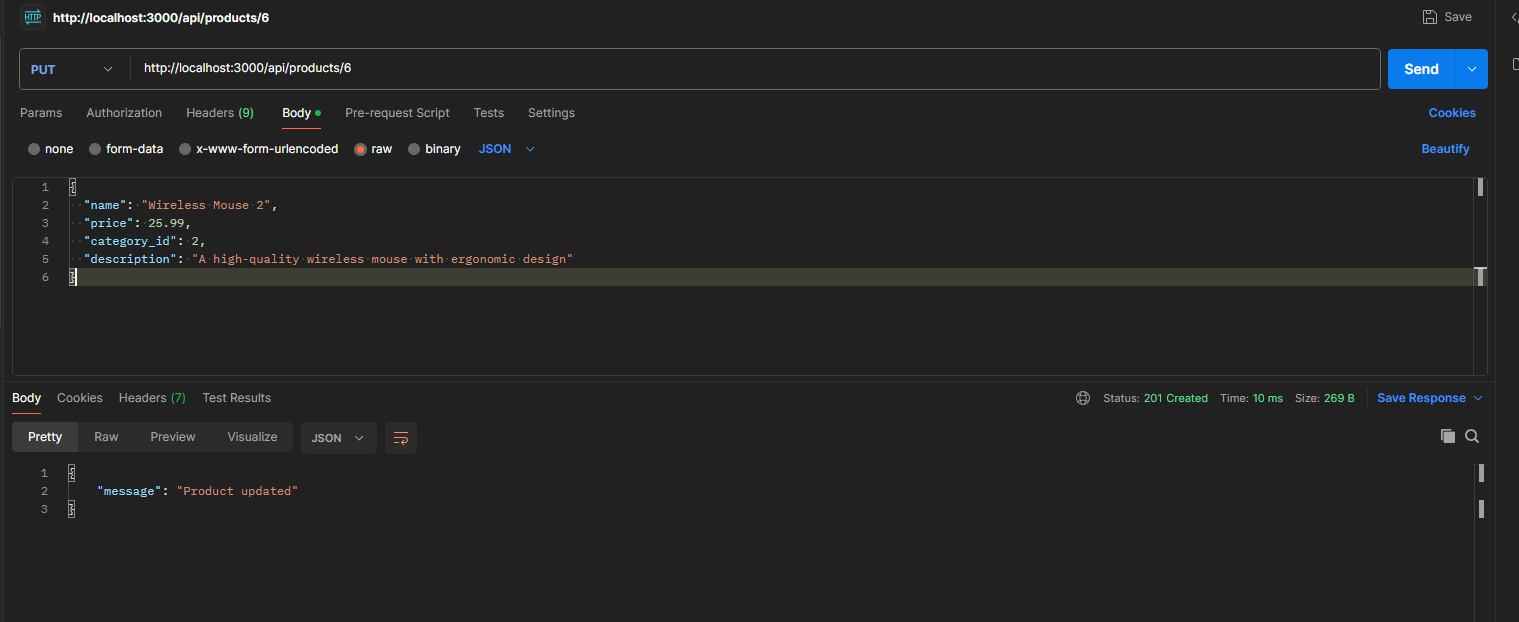
});Run the http://localhost:3000/api/products/6 request put api in postman and run this api request for updating a product in the table.
Exploring Further
This guide sets up a basic integration between Mysql and nodejs. You can take this further by exploring more advanced topics like:
-
Using Sequelize or TypeORM for ORM Integration Simplify your database queries by using an Object-Relational Mapper (ORM) like Sequelize or TypeORM. These tools help manage relationships, migrations, and complex queries.
-
Implementing Database Migrations Learn how to handle schema changes and version control for your database using tools like db-migrate or Sequelize's built-in migration feature. This ensures smooth updates and rollbacks.
Conclusion
Thank you for reading! To further explore the code and concepts discussed in this guide, visit my GitHub repository:
With the basics covered, you are now ready to explore more complex node js topics. Happy coding!
Additional Resources
For more examples and inspiration, check out the following links:
These resources will help you explore more advanced features and use cases for both frameworks.
If you found this guide helpful and want to learn more about Node.js, Expressjs, or other web development topics, stay tuned for more tutorials on this blog!